As with any brewery, the first thing to do is select a name. After sitting in my favorite pub with Laura one night, we came up with the name Fartlek Brewing. It combines two things I like, beer and running. You can follow it on Twitter or Untappd. A couple of names that were rejected. Brains, Beer and Boobs and Sizzletits.
Thanks to my friend's daughter who is a good artist, I also have a logo. I may do some tweeking on the text/name part but it looks pretty good.

Last week, I finally got around to actually doing the brewing.
The directions provided in the kit were a bit vague at times. I found I needed a few things that were not provided. The big one being a thermometer. Hitting specific temperatures at points is critical.
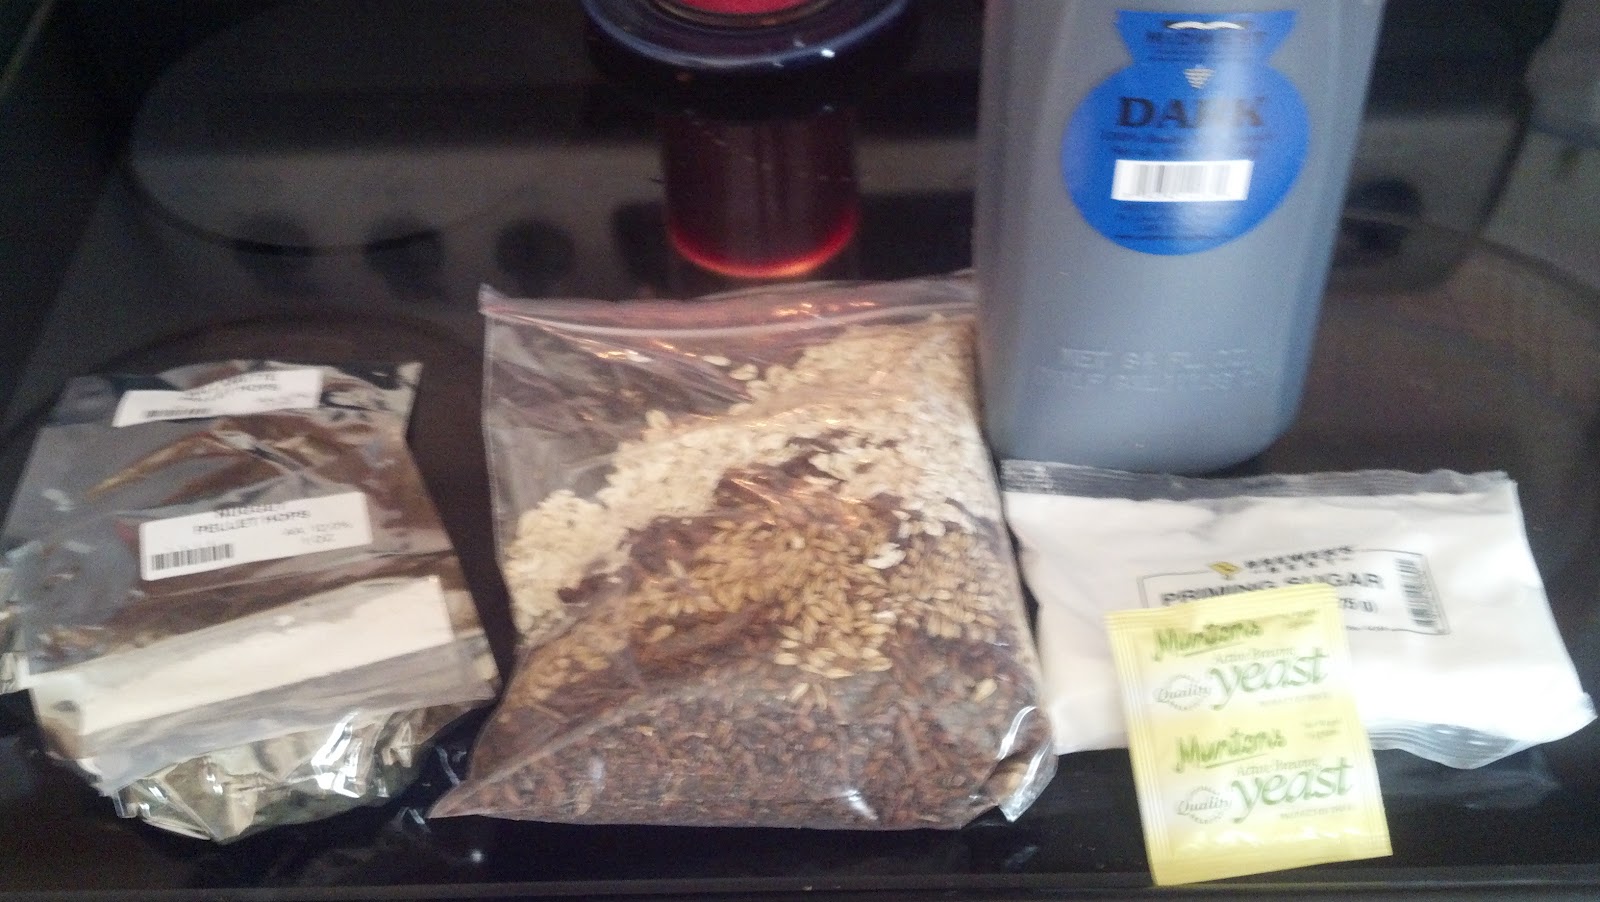 |
| The raw ingredients |
Next I took some warm water and mixed in the dry yeast. It had to sit for awhile to starting working.
 | |
| The yeast |
Next you crush the grains and put them in a muslin bag and steep them in almost boiling water for about 30 minutes. This is where having a thermometer would have been handy. You were to keep the temp about 155*
 |
| Steeping the wort |
Next you add the malt extract to the wort. This is really thick, like molasses. You have to stir it constantly until the malt is dissolved or it can burn.
 |
| Malt has been added to the wort |
After that you bring it to a low boil for about an hour. You need to add the first batch of hops at this time. The hops I used looked like little rabbit food pellets. They dissolve in the water. You have to stir it a lot at this point as well to keep the wort from boiling over when adding the hops.
 |
| Wort with hops added |
Once the boiling is almost done, I added the second set of hops. Lots of stirring again.
Then comes the cooling of the wort. You need to bring the temperature from boiling to about 80* as quickly as possible to avoid contamination of the wort. I used an ice bath. Another home brewer puts the ice cubes right in the wort. I may invest in a wort chiller if I decide to keep brewing. The chiller hooks up to the sink and you run cold water thru copper tubing that is placed inside the boil pot.
 |
| Chilling the wort |
After that you put the wort in the primary fermentation. Basically a 6.5 gallon bucket. You fill it with water to the 5 gallon mark and stir the crap out of it to get lots of air into the wort. Oxygen is what the yeast needs to do its job. I got a good arm workout in. Here is where I may upgrade again and get an aquarium pump and use that to add oxygen.
 |
| Fermentation bucket |
I then put the lid on it, put the airlock in the hole and put it downstairs.
A couple days later a guy asked how it was going. Was I seeing lots of action? I went downstairs and looked. Nothing. Crap! What is going on? After a pow wow with several tweeps, it was decided that the basement was too cold and it need to be warmer for the yeast to work. Thanks Tom for all your help and advice! I stopped at the home brew store to pick up a packet of yeast in case it was needed. Once I moved it into the spare bedroom, I gave it a few minutes of good swirling and waited.
By the next day when I came home, it had warmed up enough to get the yeast working again and I had bubbles!! The fermentation process was working!
I now have to wait for the bubbles to stop and take some gravity readings. One the reading are the same for three days in a row, I can move it into the secondary fermentation bucket where it will hang out for about another week or so. Once again this is where the directions were a bit vague.No real time frames were provided.
After that I bottle it up and it conditions and carbonates in the bottles for about a month.
I will be posting more pics and updates as the process moves forward.